
Introduction
The easiest way to install Kali is on a VM. The first thing that you want to do so go to the Offensive Security website and download the Kali VM for either a VMware workstation or Virtual Box. Installing Kali on a VM allows you to be more flexible with your installation by providing snapshots. Snapshots allow you to roll backward if necessary and ensure that your installation is behind Network Access Translation (NAT). This separates your attack box from your production network.
Go here: https://www.kali.org/get-kali/#kali-platfInstroductiorms
Download Kali
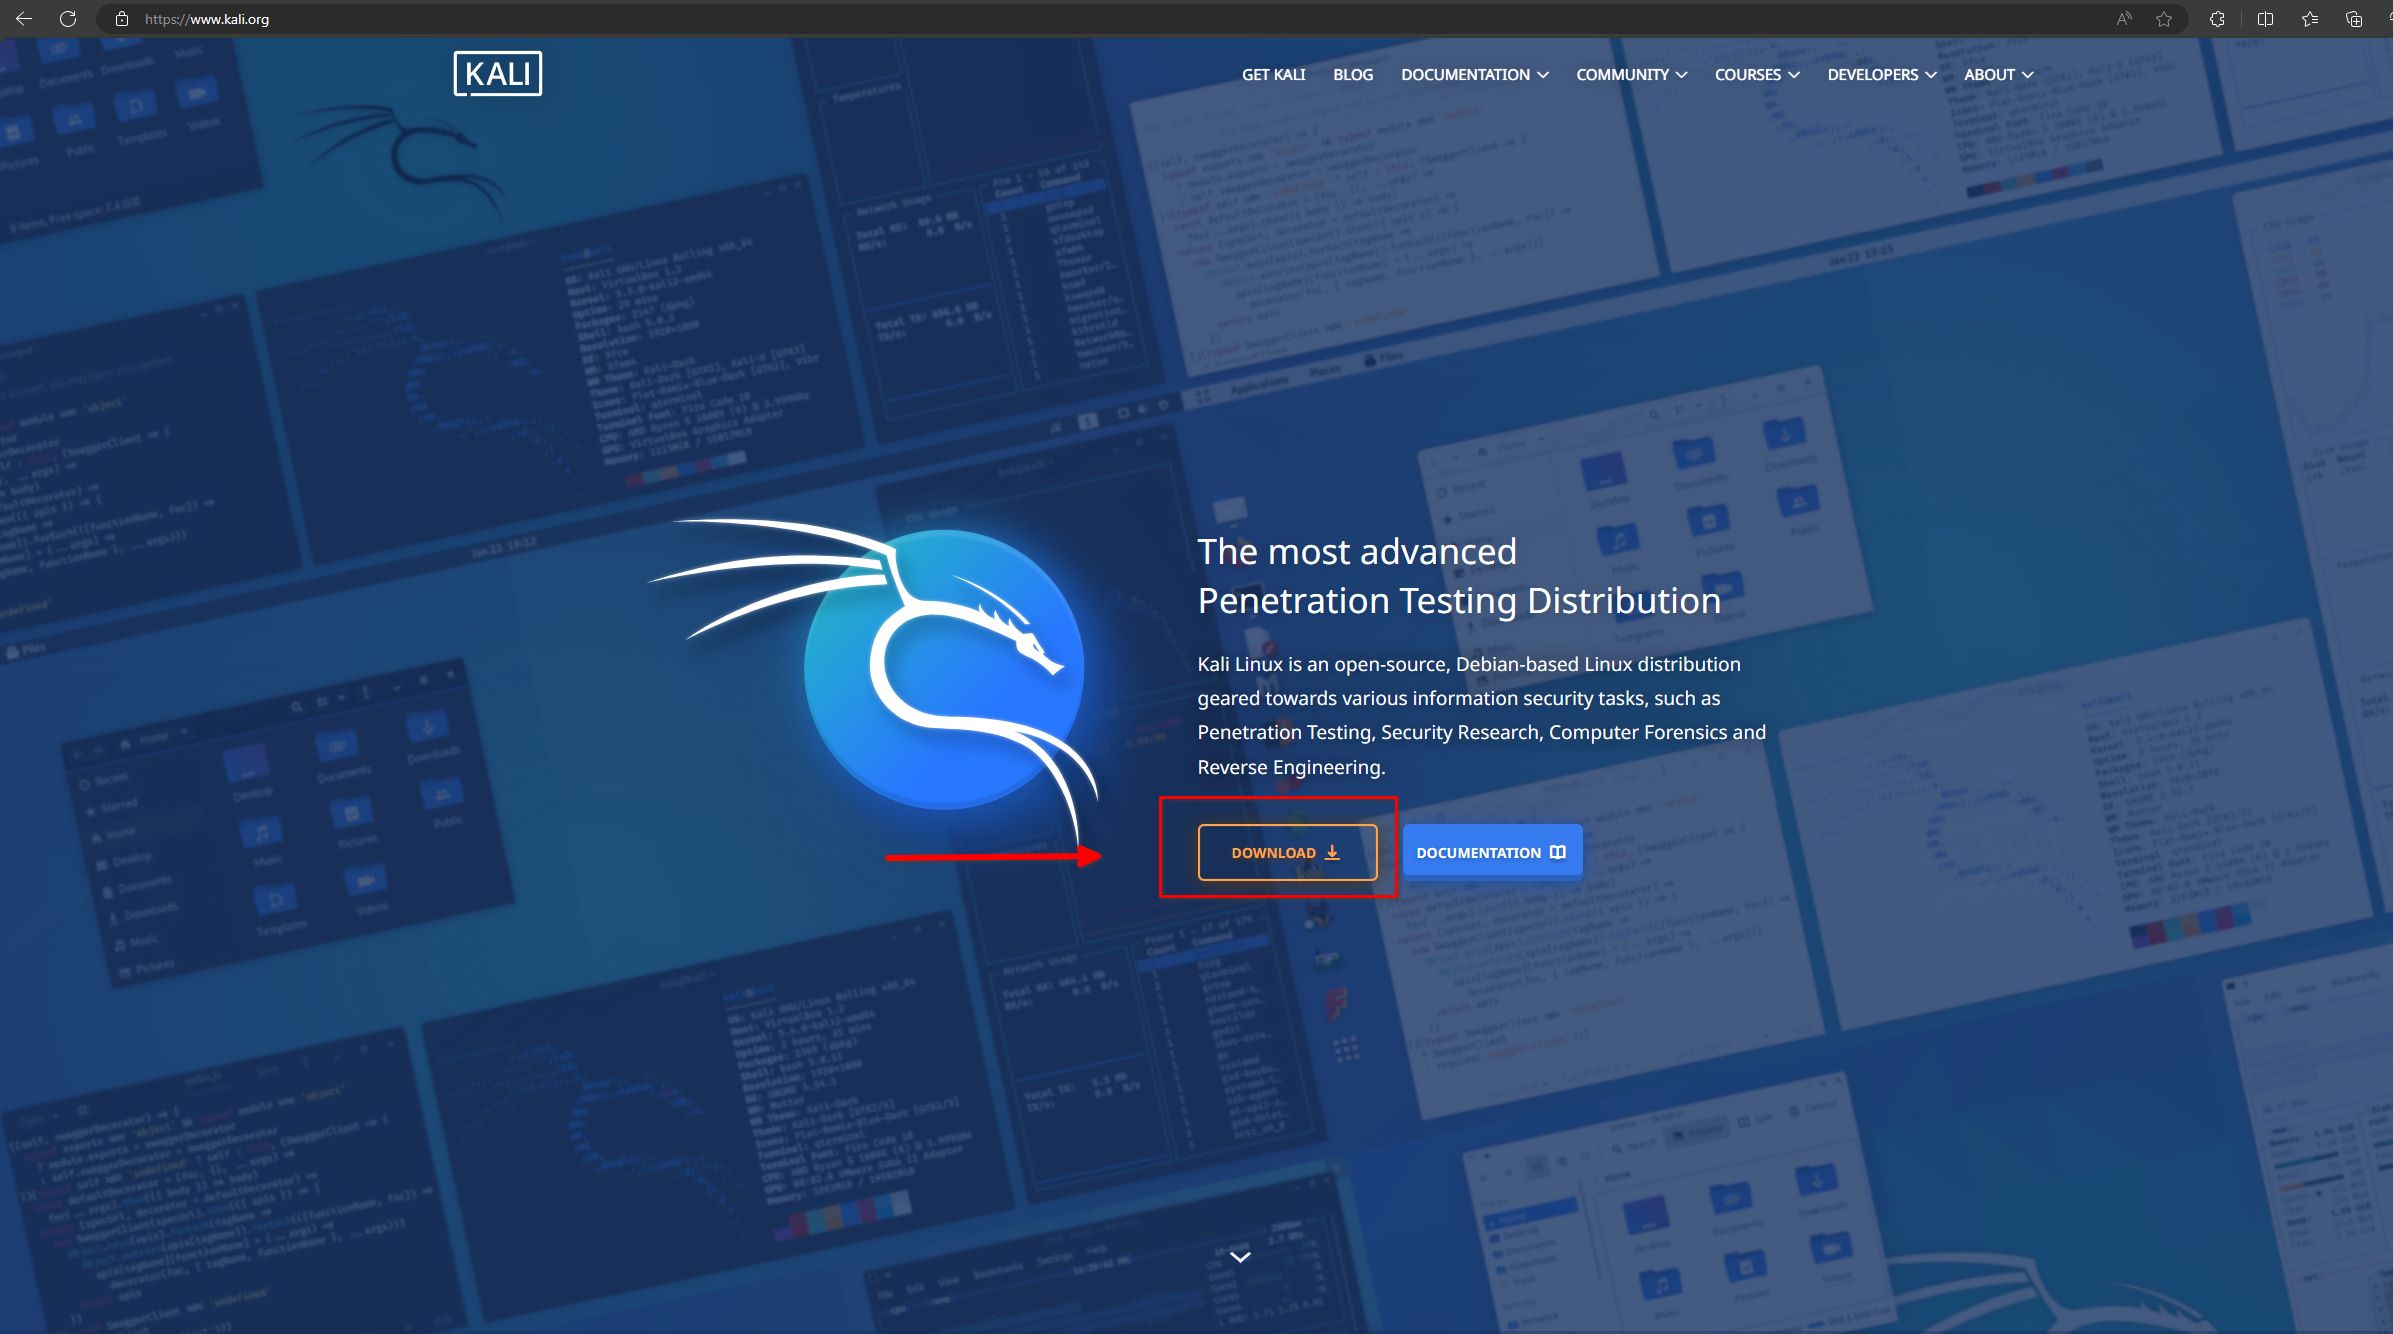
As soon as you get to the Kali Web page, click the download button.
Choose Your Installation Type
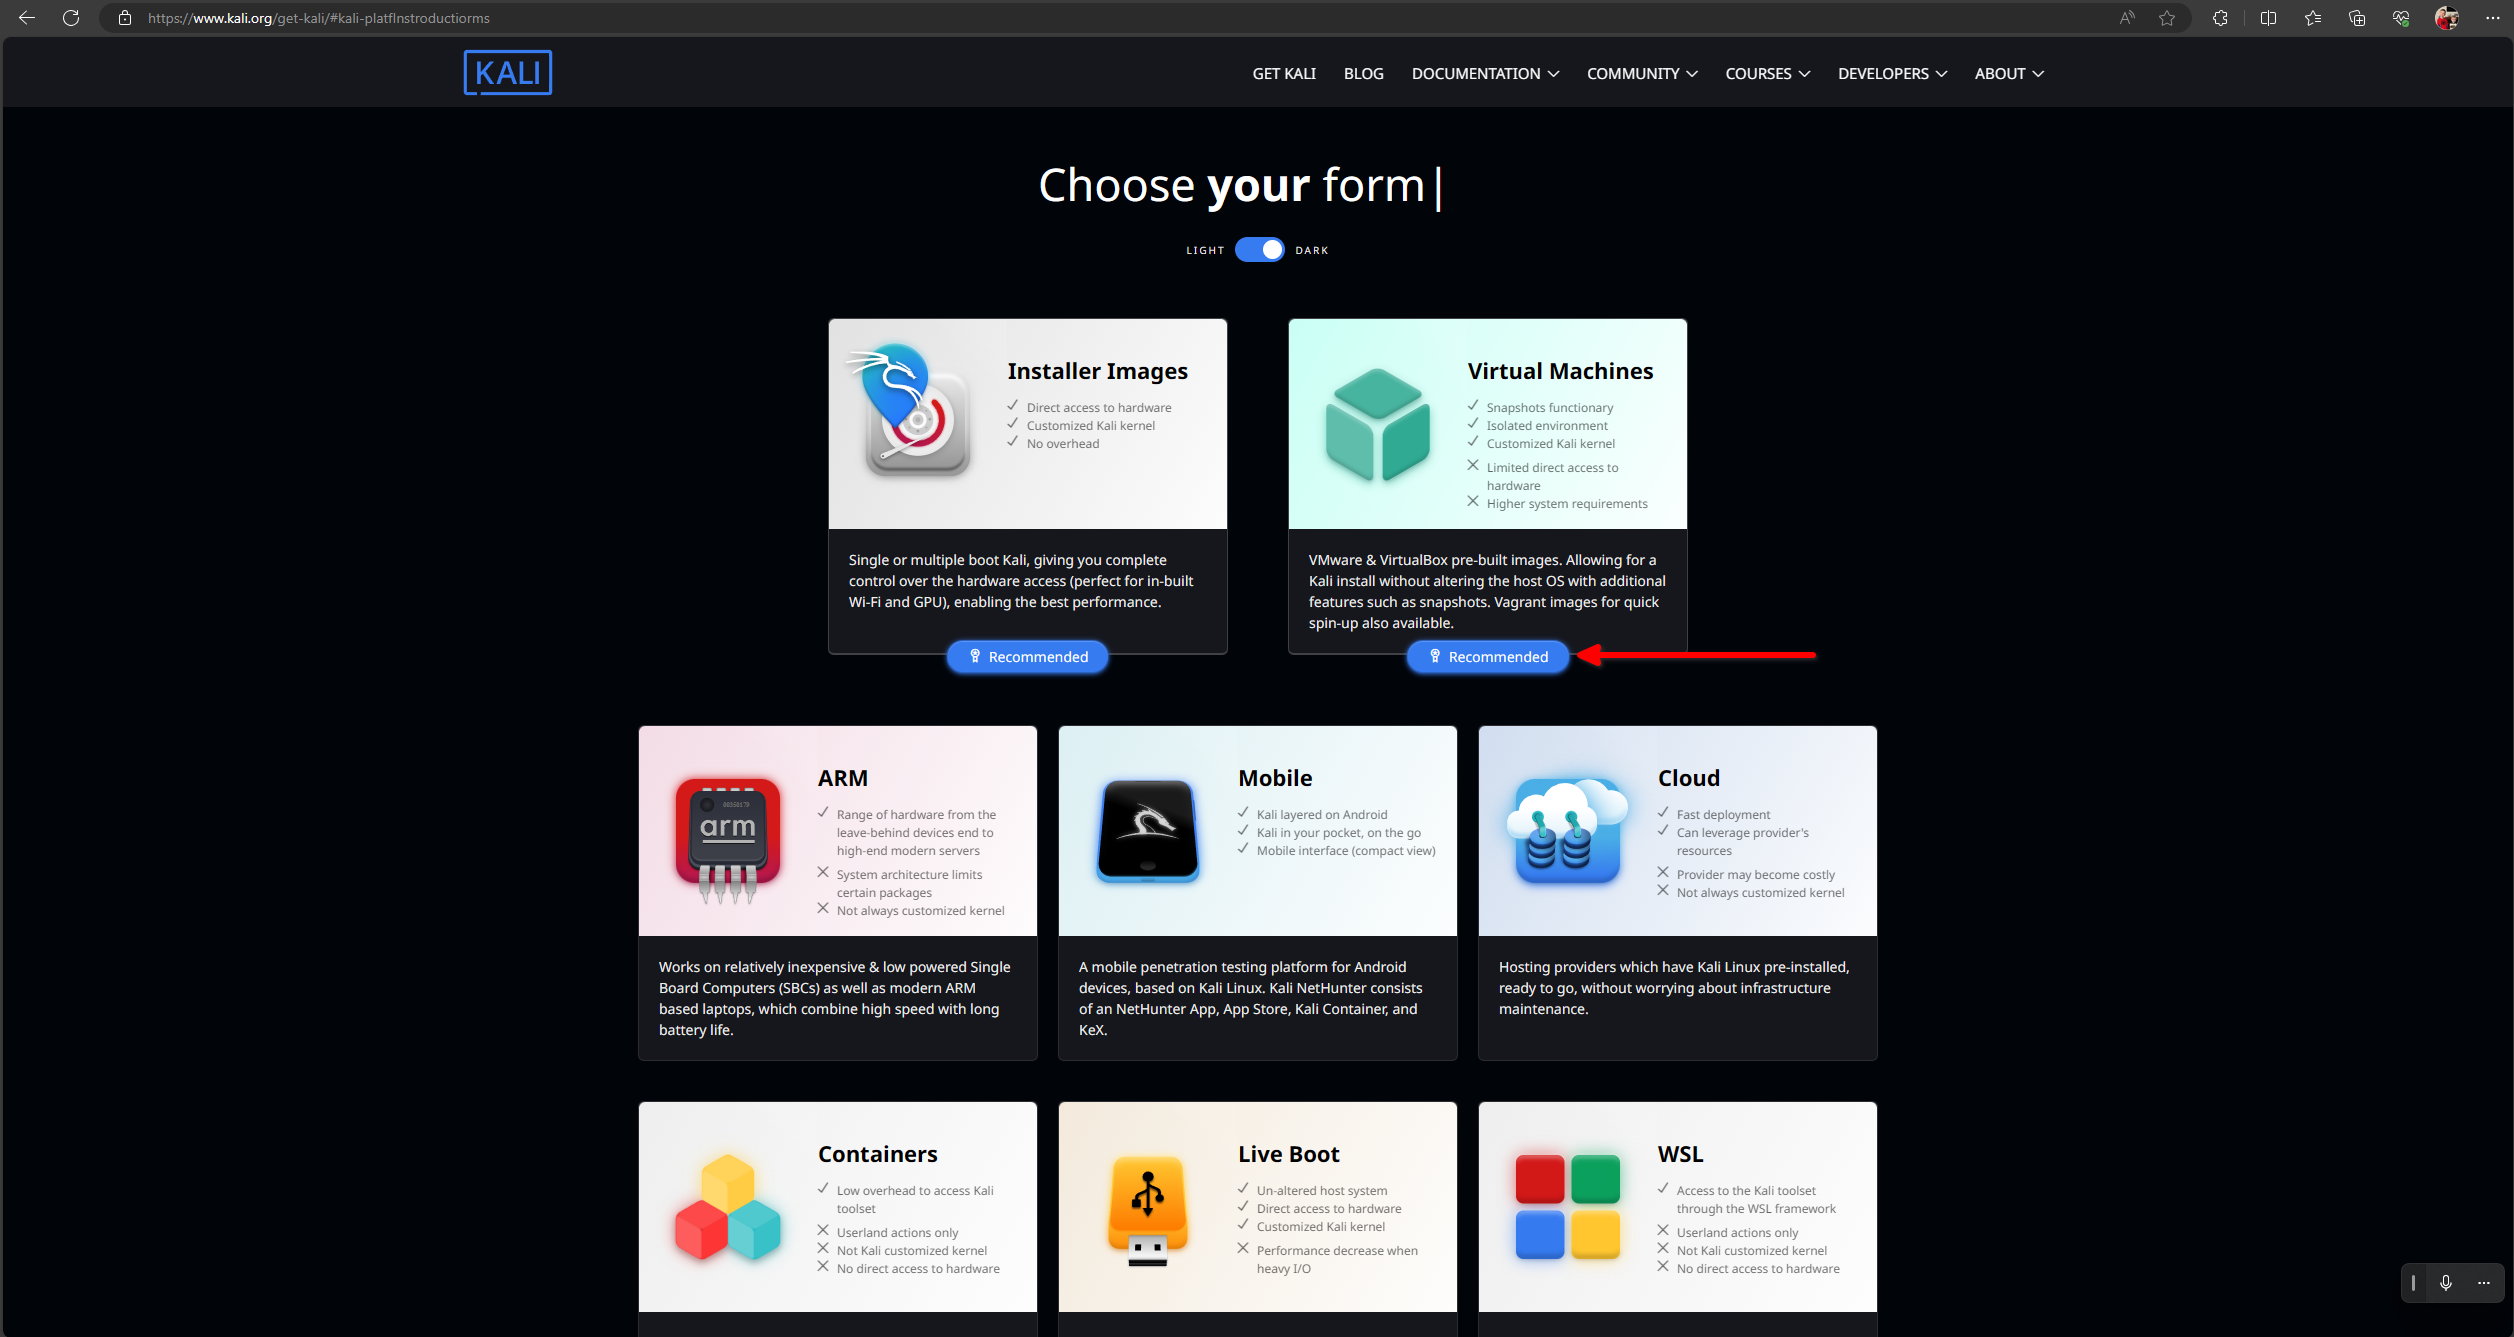
We want to download the virtual machine version of Kali. So go ahead and click the recommended button underneath the virtual machines. This will take you to the Pre-built Virtual Machine page.
VMware Workstation or VirtualBox
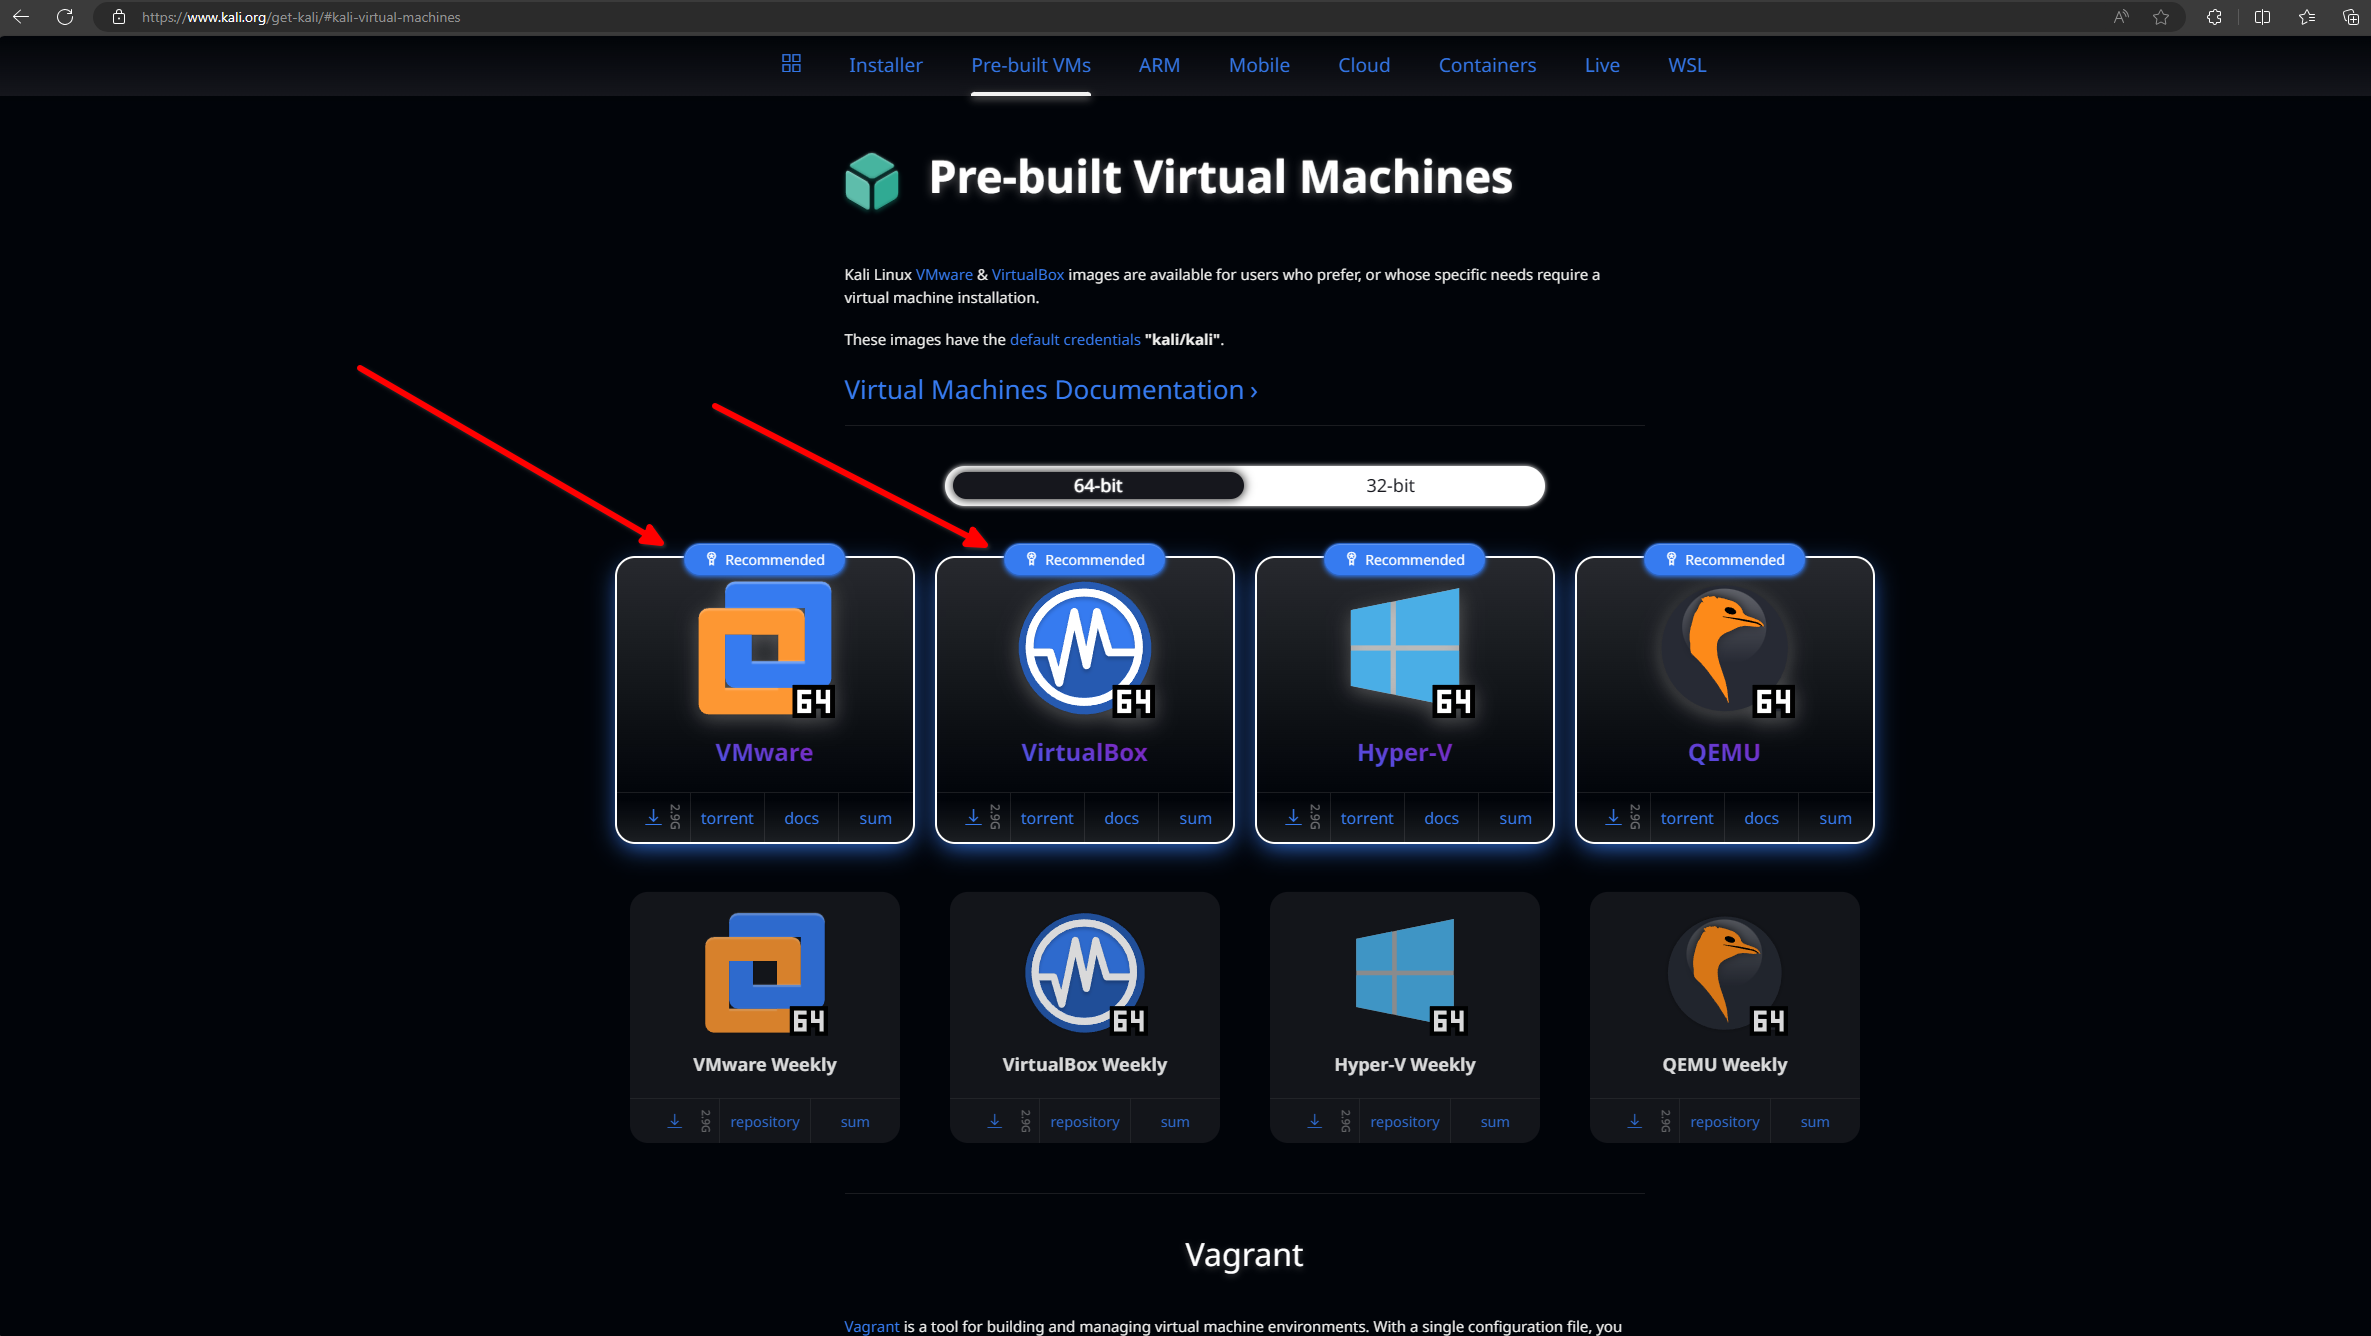
Offensive security provides a variety of virtual machines that you can download. Hyper-V is a good option and it is free but I don’t know anyone who uses it so that should tell you something. QEMU is specifically used with KVM (for Kernel-based Virtual Machine) it is a full virtualization solution for Linux on x86 hardware containing virtualization extensions (Intel VT or AMD-V). It consists of a loadable kernel module, kvm.ko, that provides the core virtualization infrastructure and a processor specific module, kvm-intel.ko or kvm-amd.ko. Using KVM, one can run multiple virtual machines running unmodified Linux or Windows images. Each virtual machine has private virtualized hardware: a network card, disk, graphics adapter, etc. Generally used with Linux-based operating systems, such as Ubuntu or Red Hat Enterprise Linux. Unless you are using Linux you might want to steer clear of this one too. I do like Virtualbox. It’s a good piece of software that offers a lot of capability and is very stable. However, if you have the money, it’s probably best to go with VMware Workstation as it offers a significant amount of functionality and has the capability to interface with ESXi. Basically, what that means is you can do a lot of development and configuration within VMware Workstation and when you’re ready, you can use the VMware converter to convert the VM to ESXi-compatible formats.
I’m going to go ahead and assume that you’ve installed VMware workstation. When you install VMware workstation, it will automatically open any files with the .vmx and .vmdk file extensions.
Find and extract the virtual machine
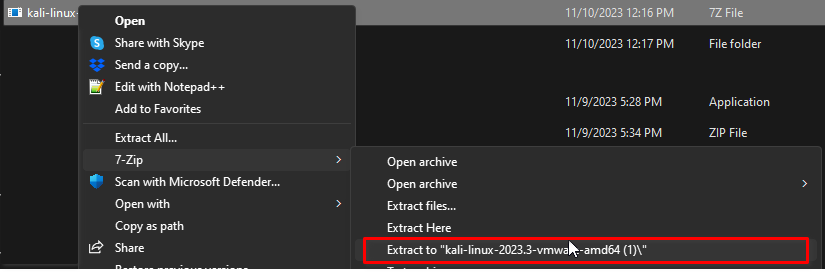
As a prerequisite, to extract the VM you’re going to need 7-zip which you can find here.
Go to your downloads folder and find the Kali VM that you just downloaded. If you’re using Windows 10 left-click the file and choose Extract to kali-linux-2023.3-vmware-amd64. This will extract the zip file to a folder.
Browse to the .vmx file
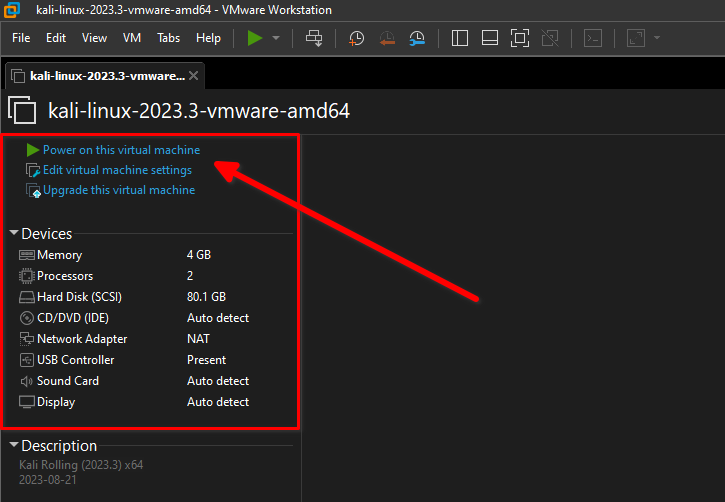
Ok, Let’s browse to the location, to which we just extracted the VM. For most of us, this is going to be in the downloads folder. If you want, you can move the folder to faster storage, such as NVME or an SSD. This will give you faster response times and will make creating snapshots faster too. Once you browse to the location where you’ve extracted the file, double-click the .vmx file. The .vmx file extension is associated with Vmware Workstation. The operating system will automatically start VMware Workstation and load up the virtual machine without any BS or configuration. We can always go back and change our settings if need be.

Power on the virtual machine
At this point, VMware Workstation will startup, and import the Kali Linux virtual machine automatically. All you have to do at this point is click the Power on this virtual machine button shown below. If you’d like to change any of the settings for the virtual machine you can click Edit virtual machine settings. I generally recommend 2 processors and 4 GB of RAM depending on the resources that are available on your system. If you have more, give it more.
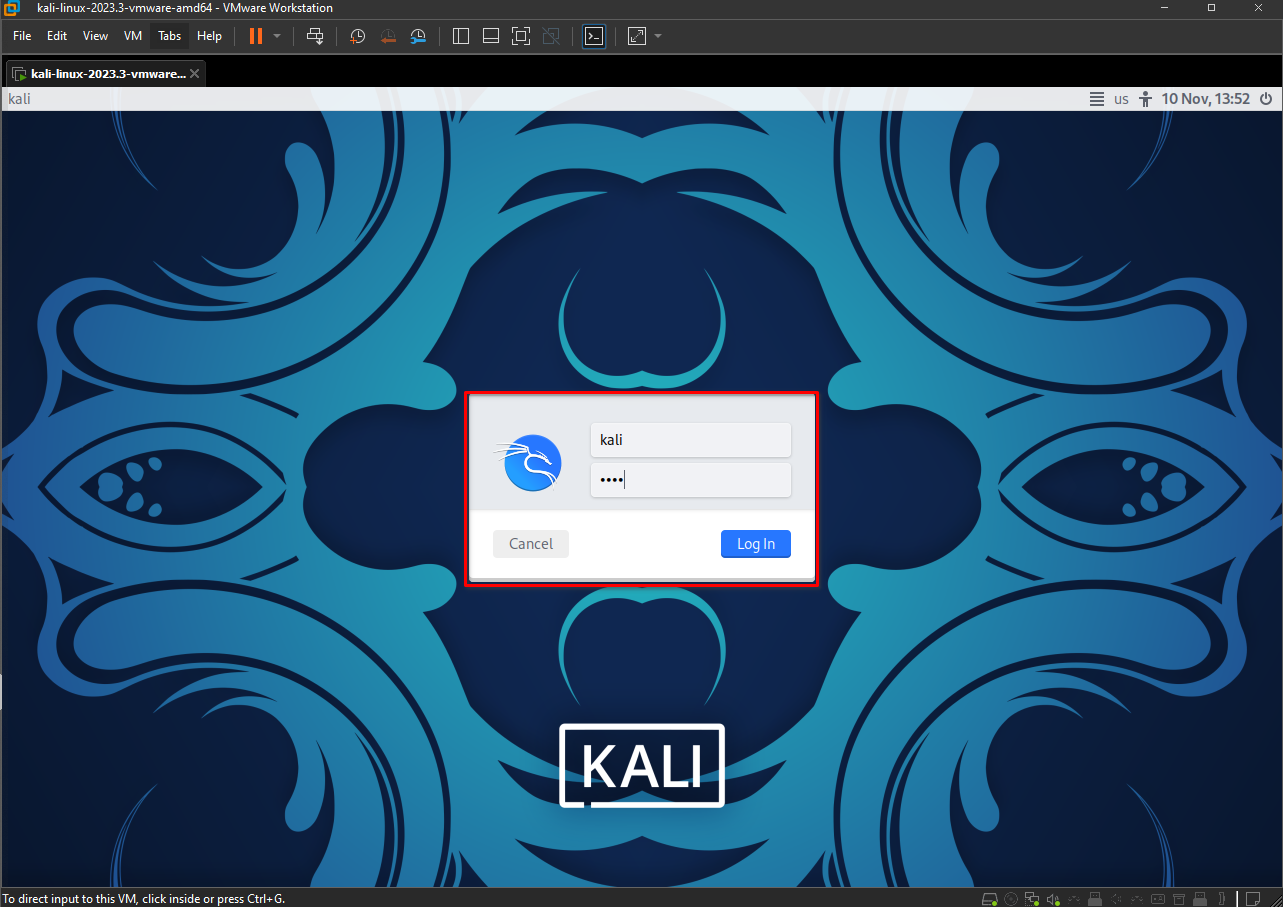
After clicking the power on this virtual machine button, the virtual machine will boot and you can log into the operating system using the following user name and password: Kali/Kali
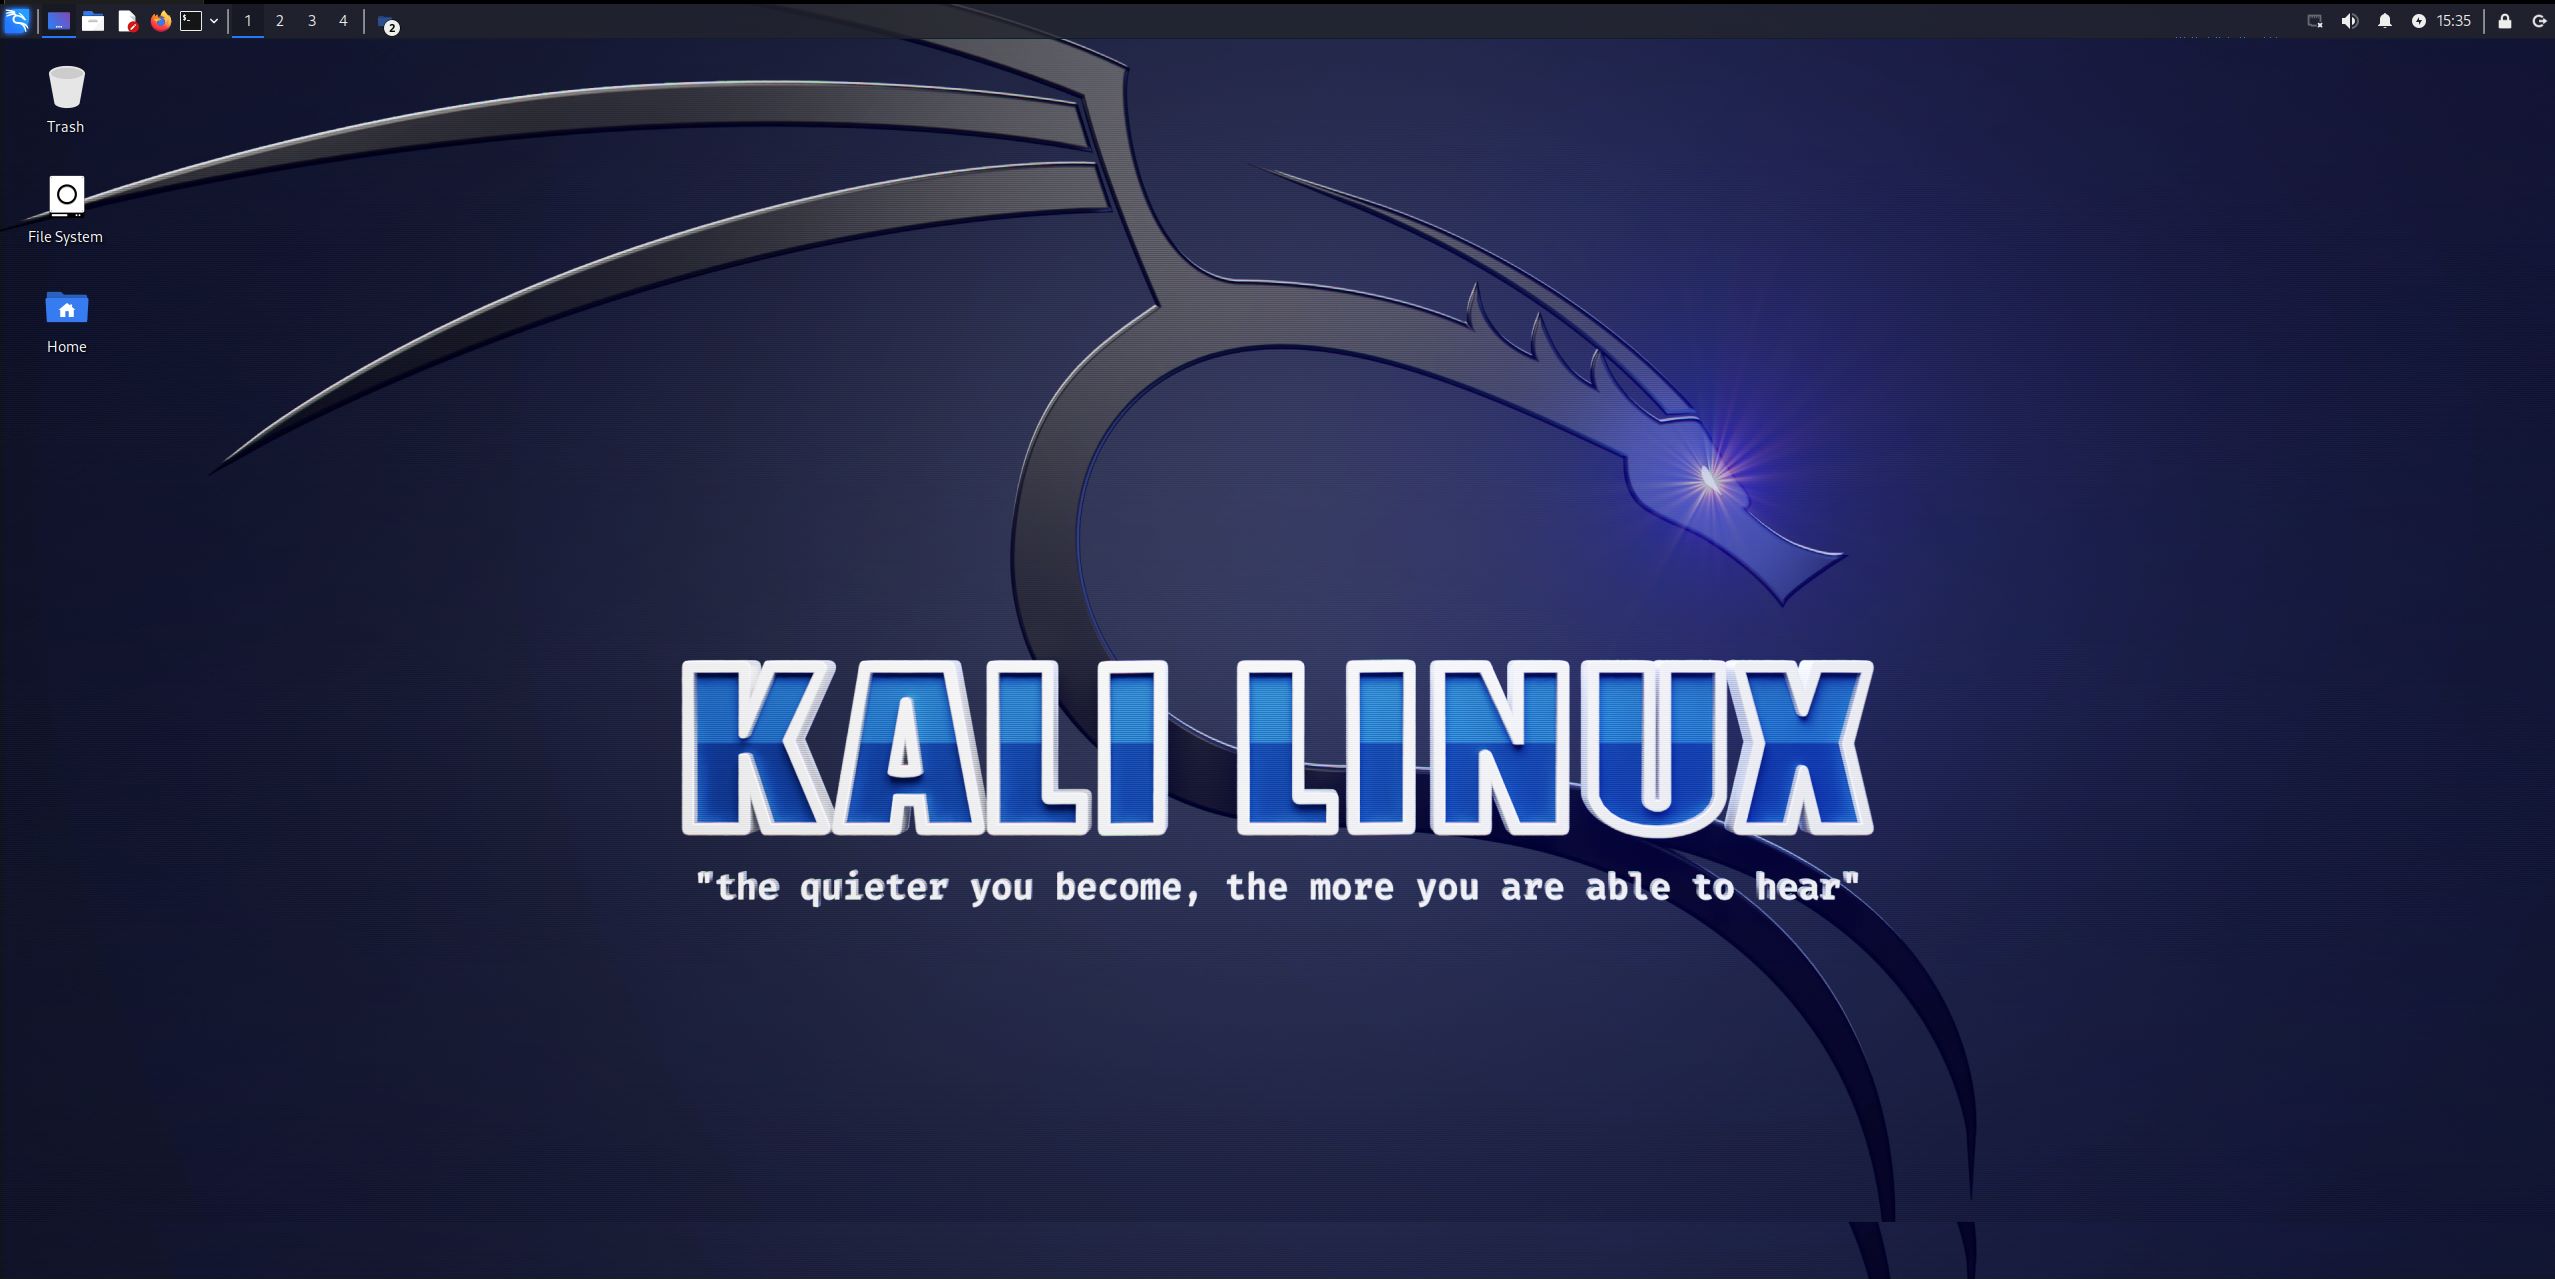
Congratulations!
You have successfully installed Kali Linux on VMware Workstation. You can now proceed with using Kali Linux for your security assessments and penetration testing projects. Remember to keep your system updated and only use Kali Linux for ethical hacking and with proper authorization.